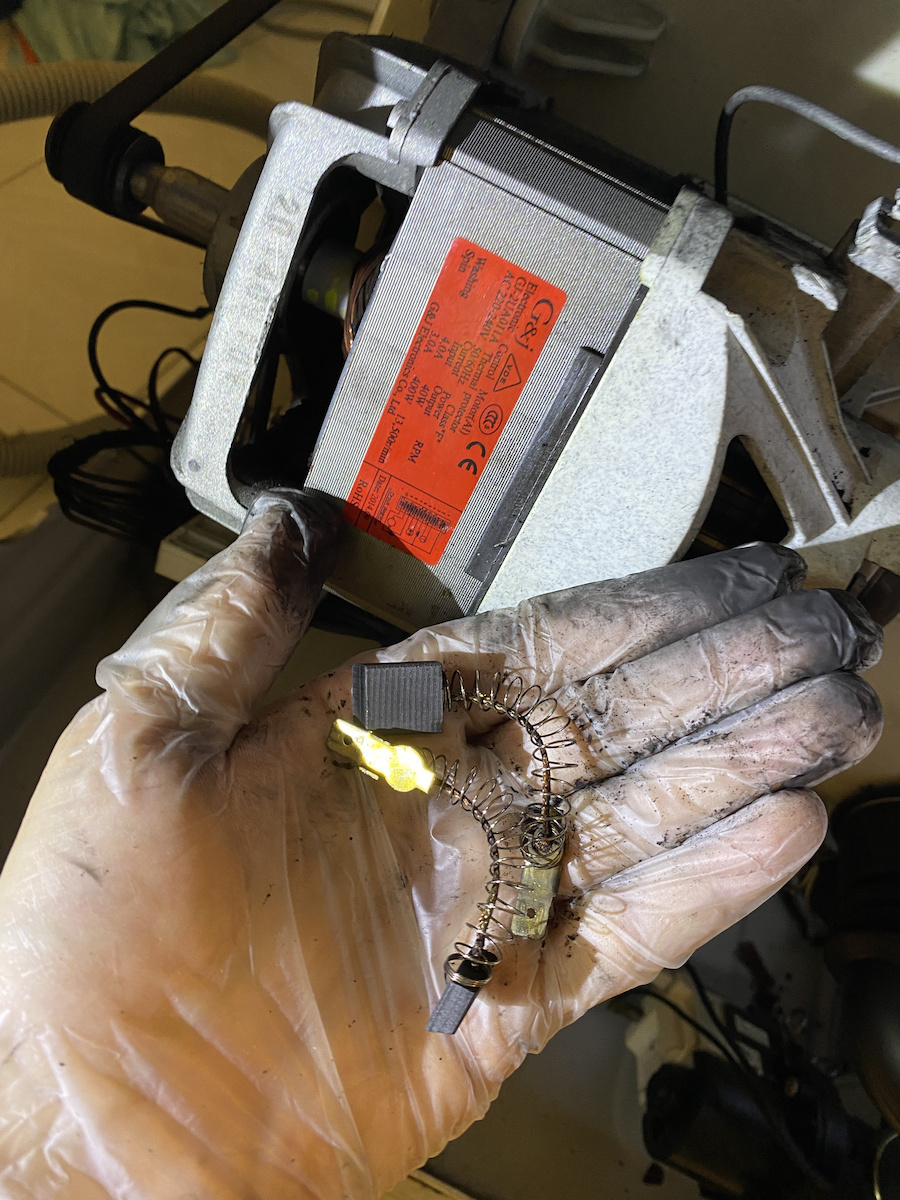
In a 10-year-old Morris washing machine (WBW-81265/2) where the drum wasn't spinning, I immediately thought that the carbon brushes (in the motor) were to blame. I unplugged it, closed the water supply, and removed the inlet and outlet hoses. I turned it upside down and thought about fixing it myself.
I removed the old carbon brushes, which were quite worn down (less than 1 cm). The Morris carbon brushes were 13.5mm wide, 5mm thick, and the length of the spring with the wire was about 4cm, which I measured with a ruler I found in front of me (normally a brand new carbon brush would be over 3cm long).
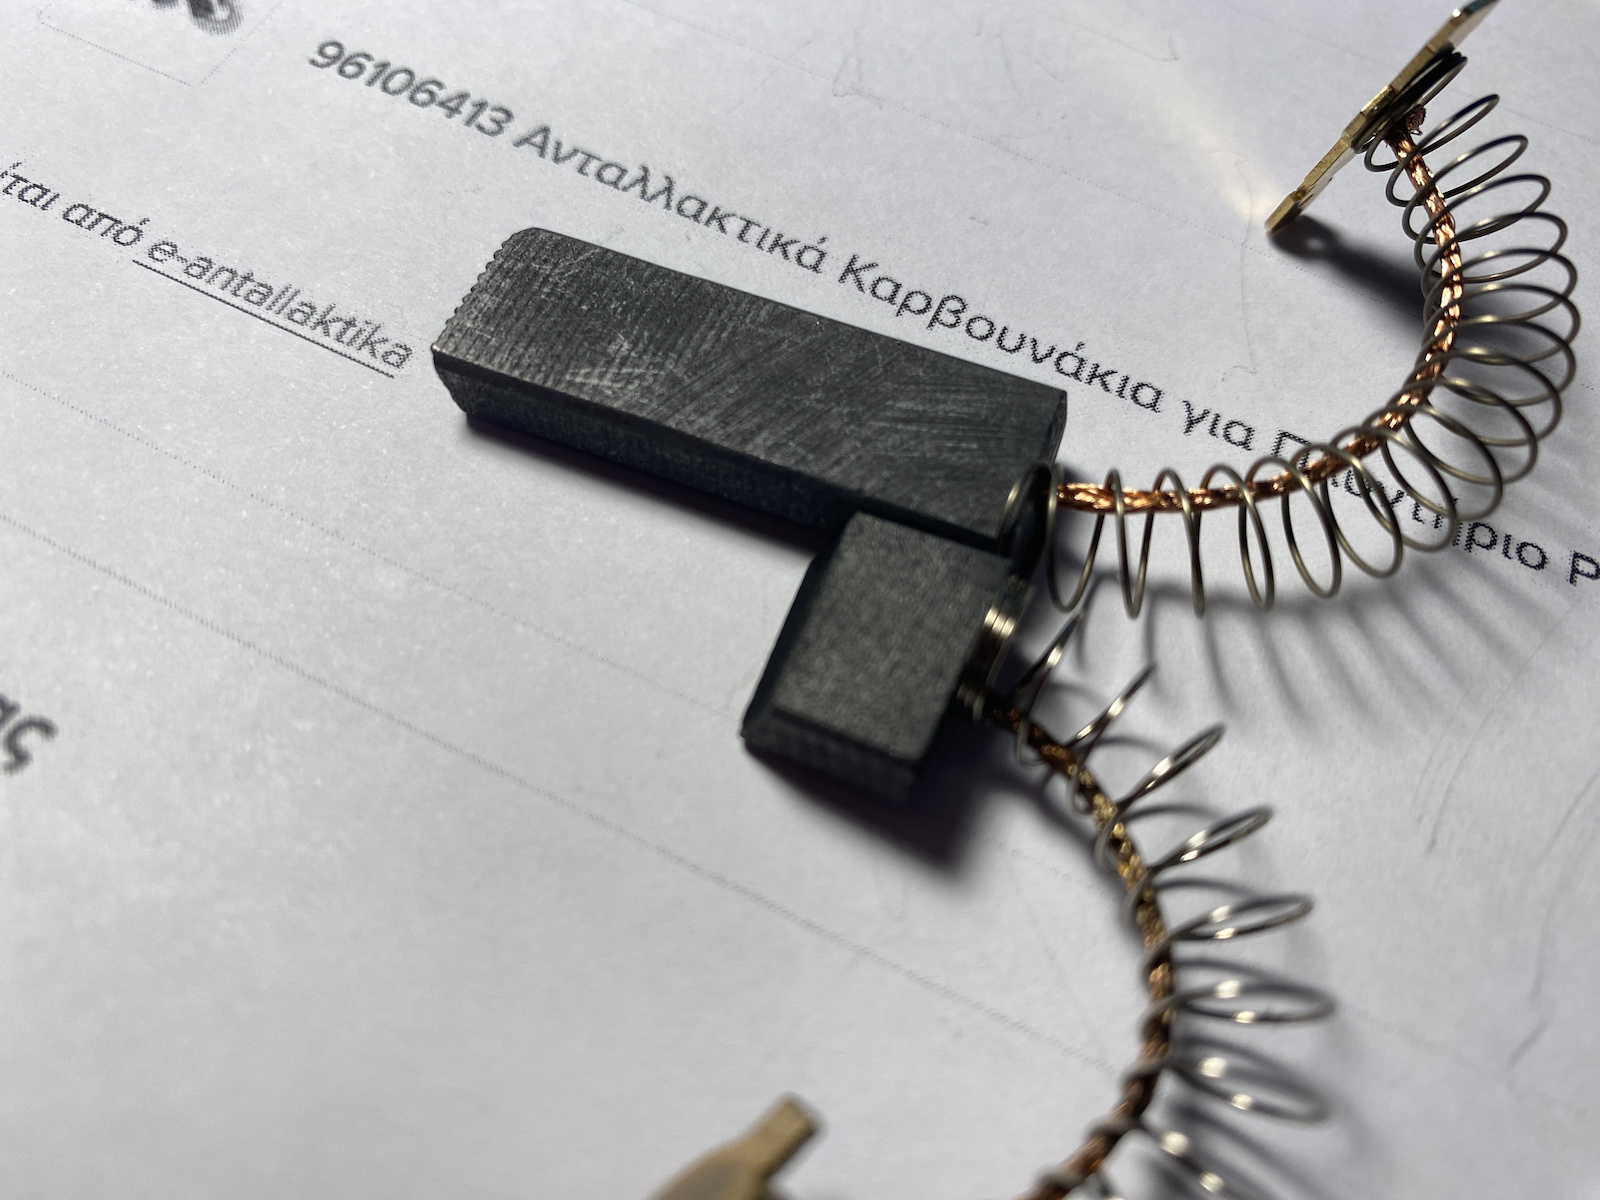
Since I couldn't find readily available brushes for this specific model, I searched for ones with similar dimensions in length and width. I found some that are normally intended for BOSCH washing machines, priced at just 5E, with a thickness of 5mm but slightly shorter at 12mm. However, the important thing is that they make good contact with the rotor's surface because their height is approximately 35mm.
Now let's move on to the installation. The metal terminal that connects to the motor's cables was considerably smaller, so the electrical connection didn't fit properly, even though the carbon brush fit into the slot. So, what did I do? I cut off the wire from the old brushes along with their terminal and cut off the wire from the new brushes on the terminal side, then I removed the springs to make the connections without the wire pushing back. I twisted the wires tightly and added a bit of solder for better bonding. Finally, I reattached the springs by wrapping them from the edges upwards, and it was ready.
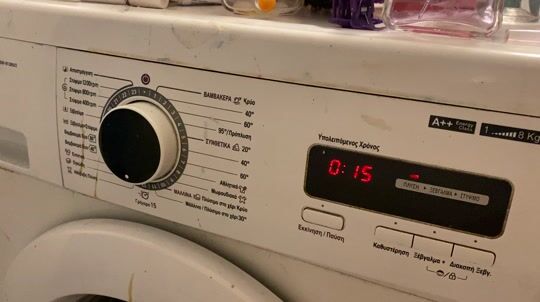
With the perfect fit of the small terminal that fits perfectly onto the cable and the cap that holds the carbon brush, they immediately fit and aligned. After I leveled the washing machine and plugged it back in, it finally worked, and the drum started spinning. So far, it has completed 3 wash cycles without any issues.
In conclusion, with a cost of less than 10E, if you take the time and effort and get your hands dirty, you can even fix your washing machine with carbon brushes meant for a different brand and model, without having to search for an available technician who might charge you around 40E and make you wait for their arrival and installation, not to mention the potential future damages that could increase the cost.
Of course, this applies only to electrical work. We unplug the plug from the socket and before plugging it back in, we check if it's dry, and of course, the anti-electrocution relay in our electrical panel should be functioning, as devices with a metal frame can be dangerous if there is a current leakage
Σε πλυντήριο Morris (WBW-81265/2) 10ετίας, το οποίο δεν γύριζε ο κάδος, αμέσως σκέφτηκα ότι φταίνε τα καρβουνάκια (στο μοτέρ).
Το έβγαλα απο την πρίζα, έκλεισα την βρύση και αφαίρεσα τις σωλήνες εισαγωγής και εξαγωγής του νερού, το γύρισα ανάποδα και σκέφτηκα να το φτιάξω μόνος μου.
Αφαίρεσα τα παλιά καρβουνάκια τα οποία είχαν φαγωθεί αρκετά πολύ (κάτω από 1 cm). Τα καρβουνάκια του Morris ήταν φάρδους 13,5mm, 5mm πάχους και το μήκος του ελατηρίου με το σύρμα περίπου 4cm που τα μέτρησα με ένα χαρακάκι που βρήκα μπροστά μου, (λογικά ένα αφάγωτο καινούργιο καρβουνάκι θα ήταν πάνω απο 3cm..)
Επειδή δεν έβρισκα άμεσα διαθέσιμα για το συγκεκριμένο μοντέλο έτσι αναζήτσα γενικά σε αυτές τις διαστάσεις μήκος και φάρδος, έτσι βρήκα τα συγκεκριμένα που κανονικά προορίζονται για BOSCH πλυντήρια με μόλις 5E που έχουν 5mm πάχος αλλά 12mm μήκος ελαφρώς λεπτότερα αλλά σημασία έχει ότι ακουμπάνε καλά πάνω επιφάνεια του ρότορα γιατί το ύψος τους είναι περίπου 35mm.
Πάμε στην τοποθέτση τώρα ο μεταλικός ακροδέκτης που συνδέεται με τα καλώδιο του μοτέρ ήταν αρκετά μικρότερος και δεν εφάρμοζε η σύνδεση ηλεκτρολογικά και ας έμπαινε κανονικά το καρβουνάκι μέσα στην υποδοχή.
Τι κάνω λοιπόν κόβω από τα παλιά καβουνάκια το συρματάκι με τον ακροδέκτη τους και κόβω από τα καινούργια καρβουνάκια το σύρμα από την μεριά του ακροδέκτη κολλητά, αφαιρώ και τα ελατήρια για να κάνω τις ενώσεις χωρίς να μου σπρωχνουν το σύρμα και ενώνω στριφτά τα συρματάκια και βάζω και λίγο καλάι για καλύτερη κόλληση, και στην συνέχεια περνάω τα ελατήρια τυλίγοντας τα από τις άκρες προς τα πάνω και έτοιμο.
Έτσι με τον μαμίσιο ακροδέκτη που εφαρμόζει τέλεια στο καλώδιο και το καπάκι που κρατάει το καρβουνάκι μπήκαν και ταίριαξαν αμέσως.
Αφού γύρισα το πλυντήριο στα ίσα του και το σύνδεσα, επιτέλους δούλεψε και γύρισε ο κάδος. Μέχρι τώρα έκανε 3 πλύσεις χωρίς κανένα πρόβλημα.
Πόρισμα με κόστος κάτω απο 10Ε, άμα ασχοληθείτε / ψαχτείτε και πιάνουν τα χέρια σας, μπορείτε ακόμα και με καρβουνάκια για άλλη μάρκα και μοντέλο να φτιάξετε το πληντήριο σας χωρίς να ψάχνετε διαθέσιμο μαστορα που θα ζητήσει μπορεί και 40Ε και θα περιμένετε κιόλας πότε θα έρθει και ποτε θα τα τοποθετήσει και φυσικά δεν σας βγάλει και άλλες μελλοντικές ζημιές για να σας ανεβάσει το κόστος....
.... εννοείται πάντα στις ηλεκτρολογικές εργασίες, βγάζουμε το φις από την πρίζα και πριν βάλουμε το φις στην πριζα ελέγχουμε αν είναι στεγνό, και φυσικά να λειτουργεί ο αντιηλεκτροπληξιακός ρελές στον ηλεκτρολογικό μας πίνακα καθώς συσκευές με μεταλλικό πλαίσιο θα είναι επικινδυνες αν αστοχήσουν και υπάρξει διαρροή ρεύματος,,,,,