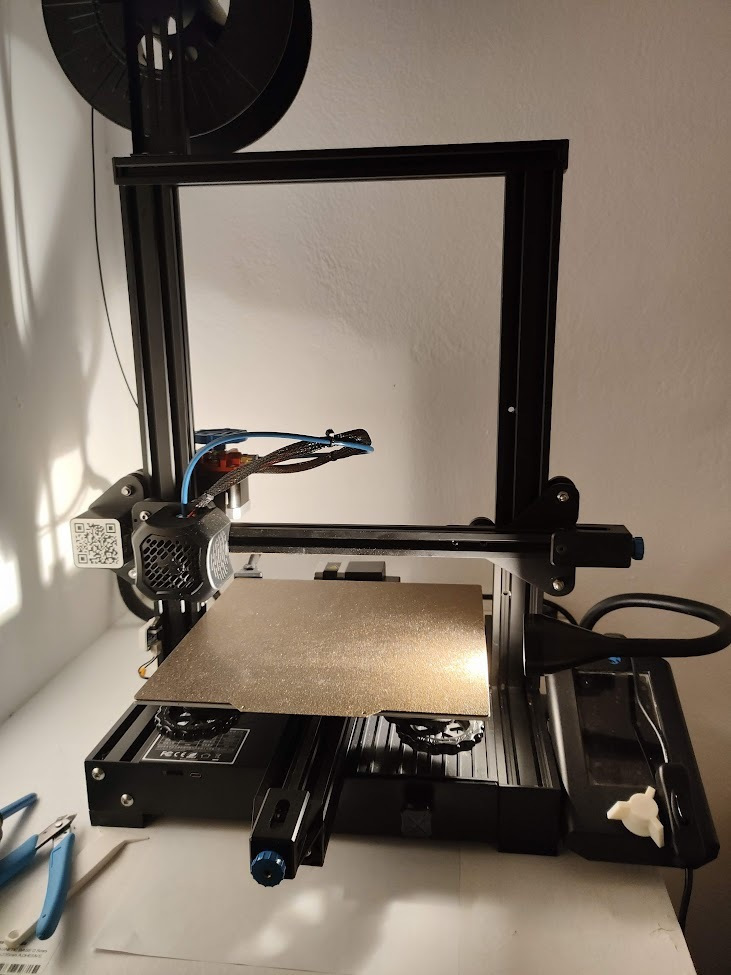
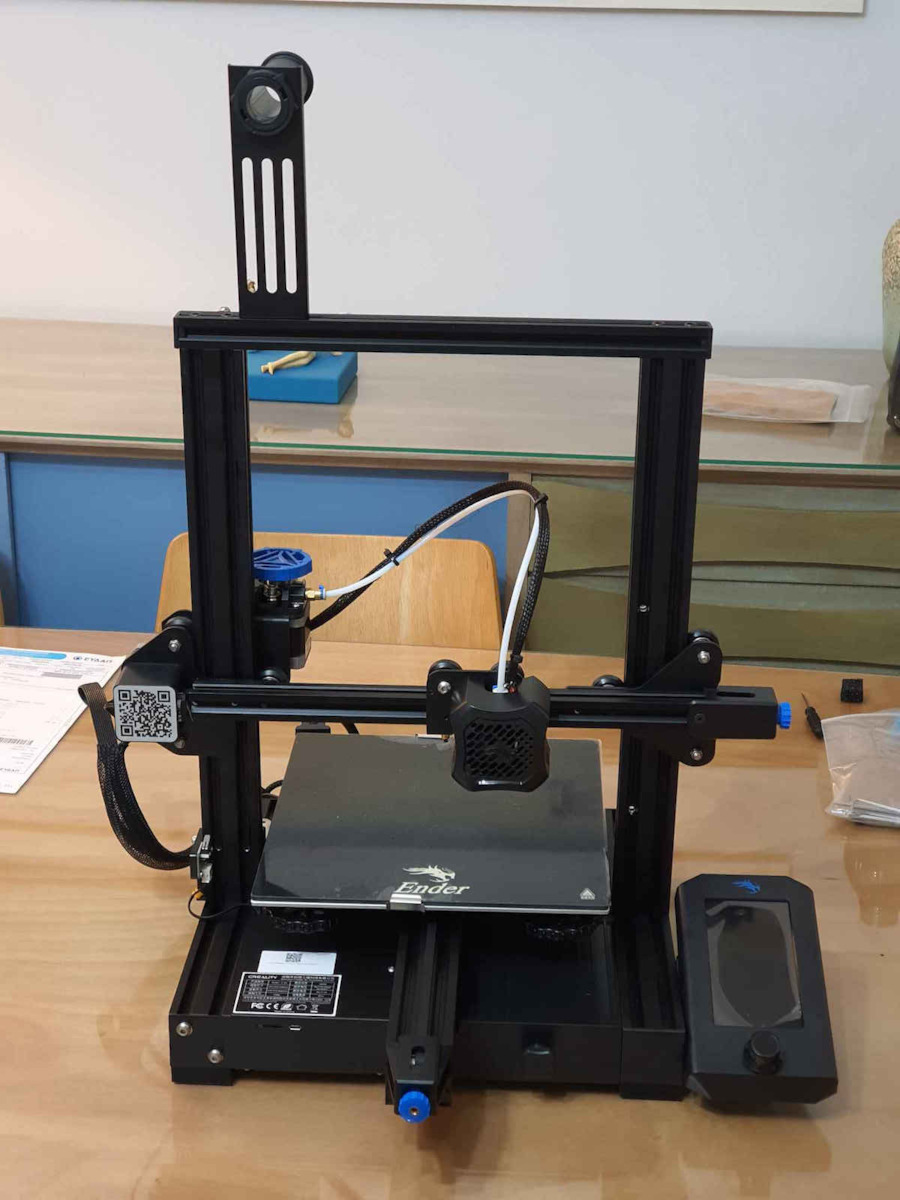
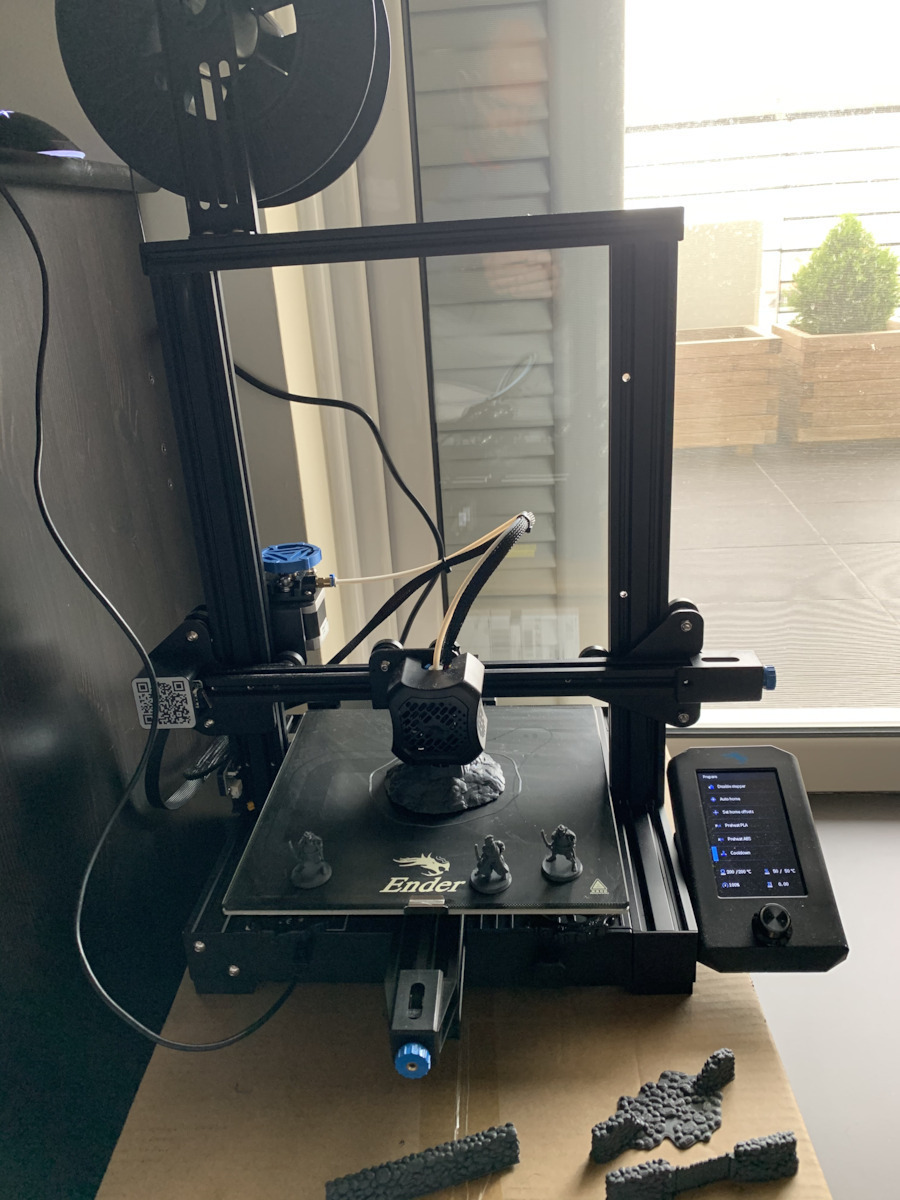
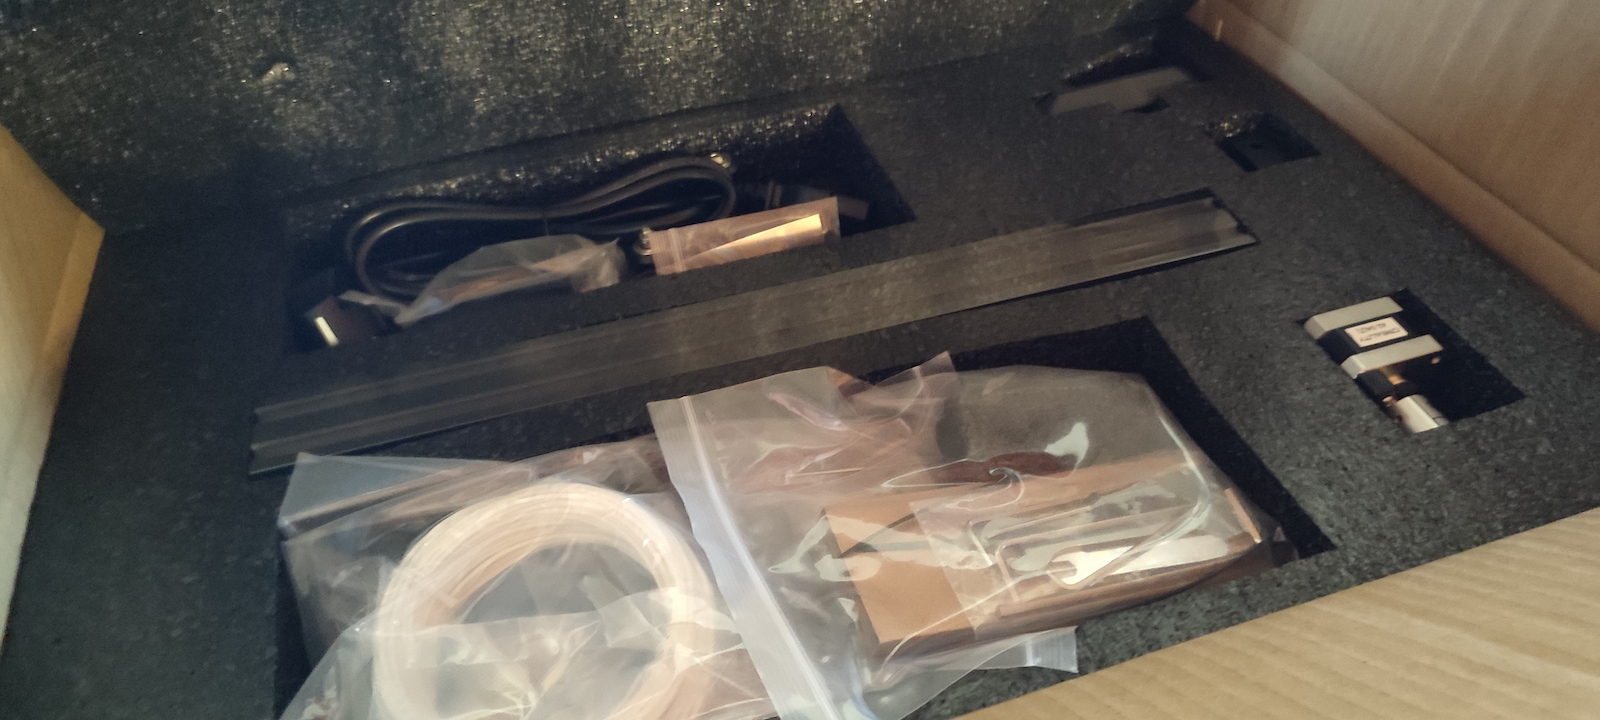
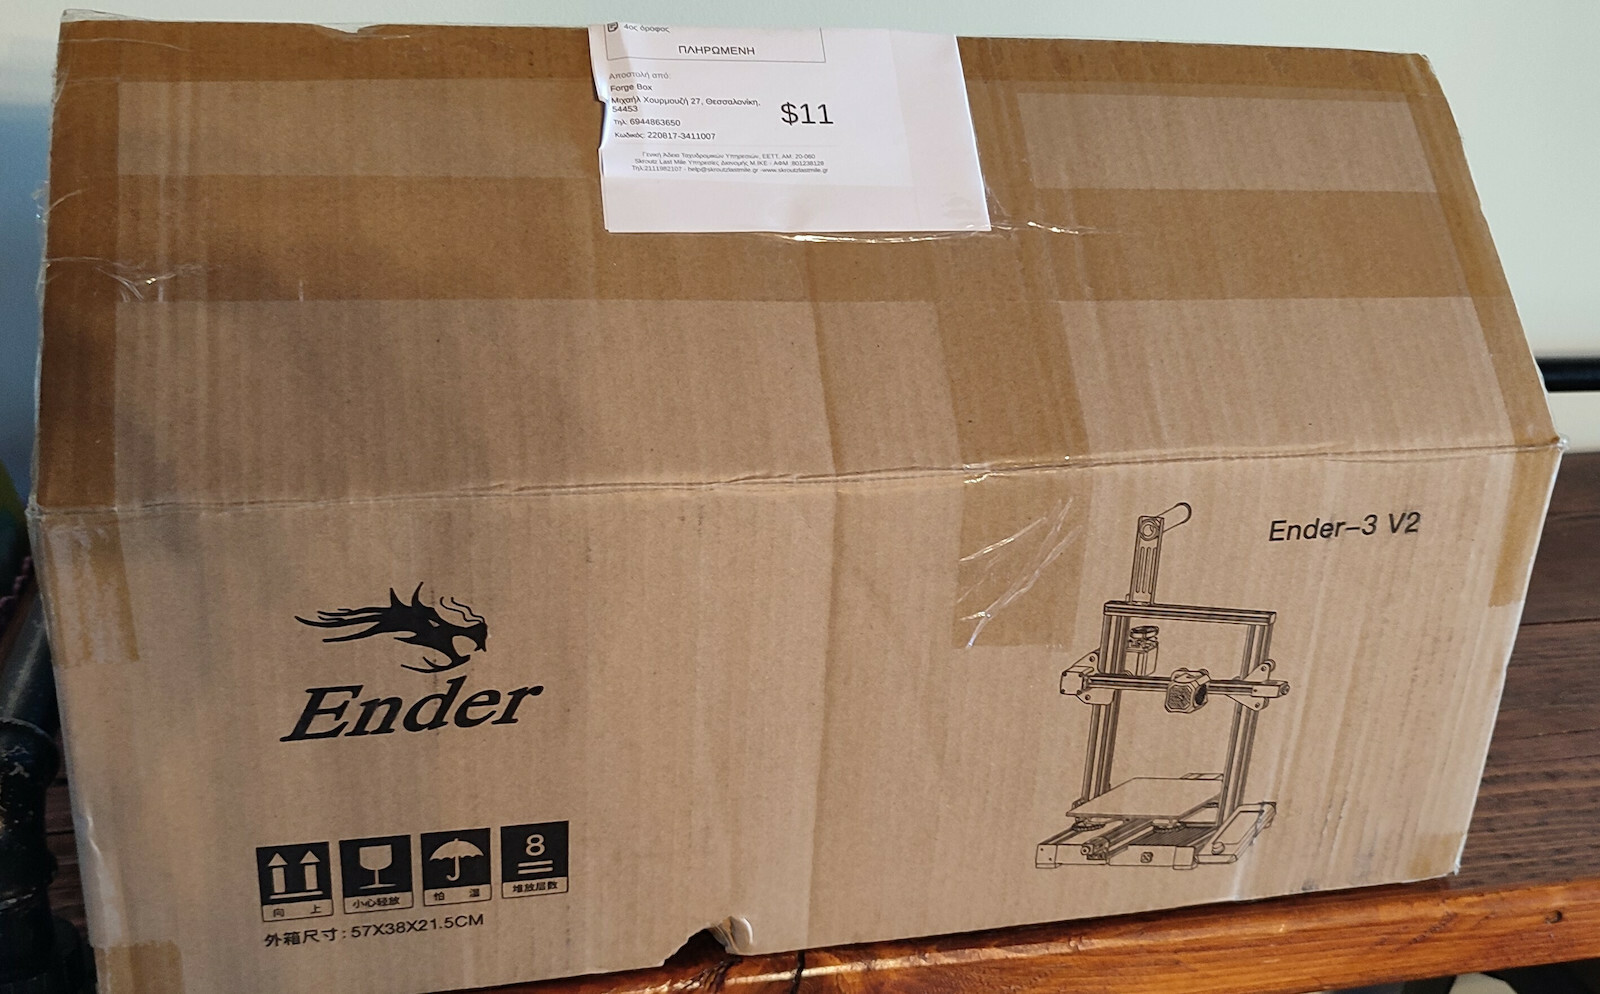
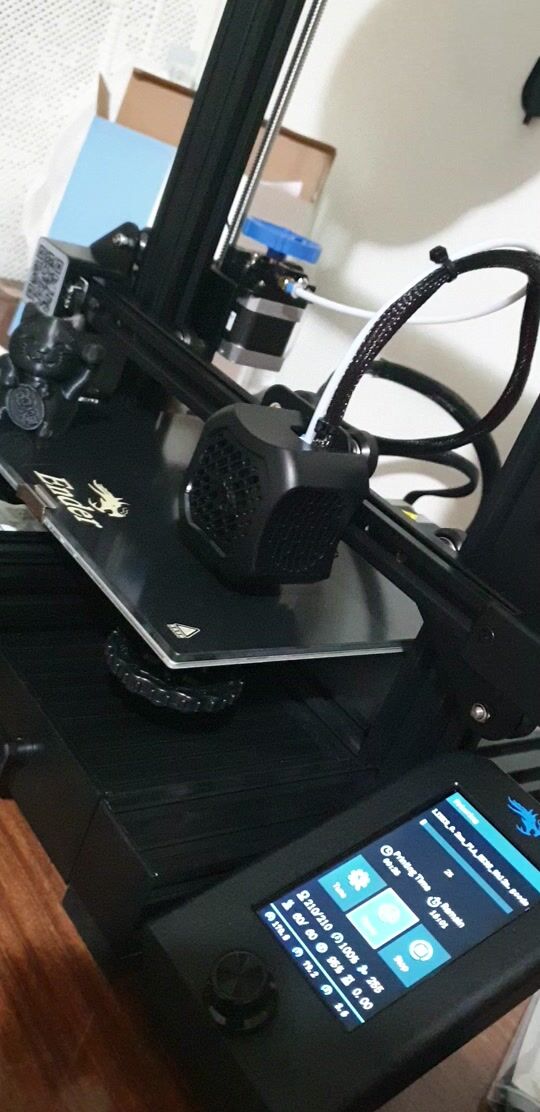
I will write what I remember from my experiences to help those who are considering buying it as their first printer.
A few words about my experience:
When I got it, I was a complete beginner, I had never seen a printer before and had no idea how it worked. Now it's been half a year since I got it.
Let's be honest, no matter which printer you get (especially with such a low price), it requires reading (and many mistakes) to understand how to use it.
Initially, I watched many videos on YouTube (in English, there aren't many in Greek) to get an idea of how a 3D printer works in general. Then, I chose this printer and watched many assembly videos from different channels, and realized that there are many people who do it "wrong" or say wrong things, so it requires research.
Be careful with the wheels, do not press them against the edges of the metal, as they can scratch and the rubber won't be smooth, which may cause issues.
When assembling it, you need to spend time on the wheels so that none of them are too tight or too loose. Try to have the same pressure on all of them on the metal.
As for bed leveling, obviously I watched many videos to get an idea of what others do and find the correct way to level the bed and recognize from the print if it's positioned too high or too low.
Attention: when a print finishes, DO NOT try to remove it right away. You need to wait for the bed to cool down to around 30 degrees Celsius in order to remove the print without affecting the bed leveling. If the bed temperature is above 40 degrees, the print won't come off easily. It requires a little patience and it will come off easily after a while. If you don't wait, you will have to level the bed before each print. It's not worth it.
About the software:
After a few prints, I realized that there are better software options, more updated, with more features and conveniences than the default one that comes with the printer. Initially, I tried Jyers, which I kept for about 4 months. It was definitely better than the Creality firmware, but it had some issues, and the developer rarely updated it.
Then I found the Professional Firmware by mriscoc: https://github.com/mriscoc/Ender3V2S1, which is definitely the best option for this printer, although there aren't many videos explaining it.
To install a different firmware on the printer, it is relatively easy and reversible (if you can find the original .bin file from Creality). Initially, you need to find out the version of your mainboard, either 4.2.2 or 4.2.7. I have 4.2.2. To see how to check it, watch some videos. Once you know that, download the corresponding .bin file from GitHub or wherever it is available. Put it on the SD card, insert the SD card into the printer, and then turn it on. After a while, you will see that it is being flashed. Then remove the card and insert it back into the PC.
That was for upgrading the printer's firmware, but it is also good to upgrade the firmware of the screen, although I think this is more for some icons that may not appear. So you download the zip file: DWIN_SET for this specific firmware, unzip it and throw away the FOLDER (which contains the files) into the SD card (delete the previous .bin from the SD). Then disconnect the screen cable, remove it from the screen, remove the screws from the back and remove the back cover (it requires force). Place the SD card inside the screen (it has a slot for SD), connect the screen with the cable and turn on the printer. Wait until the screen turns purple, wait for a minute or so, and turn off the printer. Remove the card from the screen and delete the files, and you're ready. Screw the screen back and put it back in place.
To revert back to the default Creality firmware, theoretically you do the exact same thing, just with the Creality files, which I have no idea where to find because I won't go back to the original firmware.
Also, whatever firmware you install, it must be specifically for your printer. That is, for Ender 3 V2. And with your version, 4.2.2 or 4.2.7, it depends on what board you have.
My advice is to work first with the original firmware, and then install another one if you like it.
About upgrades:
Initially, I hadn't done any upgrades, but then I needed to. It is very common for the plastic handle of the extruder to break after a while. I installed the Bowden "Extruder Feed Kit MK8 Red - 1.75mm Aluminum" along with the "Capricorn XS Series PTFE Bowden Tubing for 1.75mm Filament".
Attention, when changing the extruder or bowden tube, you need to do e-step calibration and flow rate calibration. It requires some searching on YouTube, but it's not that difficult, just some measurements and calculations.
Recently, I upgraded the bed and installed a magnetic one, specifically a generic "Textured Coated Flexible Steel Plate", plus the magnetic surface that you stick to the printer (in my opinion, you should remove the glass). I got both for 26 euros from a well-known store in Athens.
It doesn't matter that much for me that it's magnetic. Essentially, they advertise it as easy to remove and flex to detach the print. But when you do that, it requires force and messes up your bed leveling. So I don't remove it, I just have it for better adhesion of the material to the bed (I saw a big difference compared to the glass, which I often cleaned very well for it to stick).
Also, do not use glues, sprays, etc. to make the material stick to the bed. If you have the right settings and proper bed leveling, it will stick just fine. One tip is to lower the speed for the first layer of the print in the slicer. I have it at 3 in Cura. And it's worth doing it slowly because it's the most important layer.
Finally, I upgraded the springs under the bed, along with the wheels that you adjust for bed leveling. It is definitely the first upgrade that one should do. I got these: [link to the product].
About Slicer:
I use Cura. The slicer converts 3D files like .stl, obj, etc. into .gcode for the printer to read. It provides instructions on where the printer will move the extruder, how much material it will extrude, etc. While the 3D files cannot be understood by the printer on their own.
So you need Cura or a similar program, and it also requires a lot of experimentation and reading.
About models:
The 3D models that you will input into the slicer can either be created by you using CAD programs or Blender, 3Ds Max, etc., or you can download ready-made ones from Thingiverse, Thangs, etc.
Negatives of the printer:
It does not have a bltouch on its own. Personally, I haven't installed one because it seems a bit complicated, but if it had it on its own, it wouldn't bother me.
You need to upgrade the extruder to a metal one after a while because the plastic one will likely break along the way.
The springs need to be adjusted, as I mentioned earlier. This will make the bed more stable and prevent the bed leveling from easily getting messed up.
Update 05/23: I installed the BL touch 5 months ago and it solved my problems...
Update 09/23: I just received the Ender 3 V3 SE (from the European site of Creality) and it is better and at the same price. It is approximately 4 times faster, but it also has better print quality, even at these speeds... And the V2 is good, I will definitely keep it, but the V3 SE is easier.
Θα γράψω ότι θυμάμαι από αυτά που αντιμετώπισα για να βοηθήσω όσους σκέφτονται να τον αγοράσουν ως πρώτο εκτυπωτή.
Λίγα λόγια για την εμπειρία μου:
Όταν τον πήρα ήμουν τελείως αρχάριος, δεν είχα ξαναδεί εκτυπωτή και δεν είχα ιδέα για το πως λειτουργεί. Τώρα έχεις περάσει μισός χρόνος από τότε που τον πήρα.
Κακά τα ψέματα, όποιον εκτυπωτή και να πάρεις (ειδικά με τόσα λίγα χρήματα) θέλει διάβασμα (και αρκετά λάθη) για να καταλάβεις πως να τον χρησιμοποιείς.
Εγώ αρχικά είδα πολλά βιντεάκια στο youtube (στα αγγλικά, δεν υπάρχουν πολλά στα ελληνικά) για να πάρω μια ιδέα για το πως λειτουργεί γενικά ένας 3D εκτυπωτής. Έπειτα, διάλεξα αυτόν τον εκτυπωτή και είδα πάρα πολλά βιντεάκια περί συναρμολόγησης, από πολλά διαφορετικά κανάλια, και συνειδητοποίησα ότι δεν είναι λίγοι αυτοί που το κάνουν "λάθος" ή λένε λάθος πράγματα, οπότε θέλει ψάξιμο.
Προσοχή στα ροδάκια, μη τα πιέσετε στις άκρες από τα σίδερα, επειδή χαράζονται και το λάστιχο μετά δεν είναι λείο και ίσως έχετε θέμα.
Όταν το συναρμολογήσετε, πρέπει να αφιερώσετε χρόνο στα ροδάκια έτσι ώστε να μην υπάρχει κάποιο ροδάκι που είναι πάρα πολύ σφιχτό, ή κάποιο που είναι πάρα πολύ χαλαρό. Όσο μπορείτε να έχουν την ίδια πίεση όλα πάνω στα σίδερα.
Όσο για το bed leveling, προφανώς και εκεί είδα πολλά βιντεάκια για να έχω μια ιδέα το τι κάνουν οι άλλοι και να βρω ποιος είναι ο πιο σωστός τρόπος να ισιώσεις το "κρεβάτι", και πως να αναγνωρίζεις από την εκτύπωση αν είναι τοποθετημένο πιο κάτω ή πιο πάνω απ'ότι πρέπει.
Προσοχή: όταν τελειώνει μια εκτύπωση, ΜΗΝ προσπαθείτε να την βγάλετε με το που σταματήσει. Πρέπει να περιμένετε μέχρι να κρυώσει το κρεβάτι κάπου στους 30 για να μπορείτε να αφαιρέσετε την εκτύπωση χωρίς να χαλάσετε το bed leveling. Όσο η θερμοκρασία του κρεβατιού είναι 40+, δεν ξεκολλάει εύκολα η εκτύπωση. Θέλει λίγο υπομονή και θα βγει πολύ εύκολα μετά από λίγο. Αν δε περιμένετε θα πρέπει κάθε φορά πριν την εκτύπωση να κάνετε bed leveling. Δεν αξίζει.
Περί λογισμικών:
Μετά από μερικές εκτυπώσεις, κατάλαβα ότι υπάρχουν κάποια καλύτερα λογισμικά, πιο ανανεωμένα, με περισσότερες λειτουργίες και ευκολίες από αυτό με το οποίο έρχεται ως default ο εκτυπωτής, και αρχικά δοκίμασα το Jyers, το οποίο το κράτησα για περίπου 4 μήνες. Ήταν σαφώς καλύτερο από το firmware της Creality όμως είχε κάποια θεματάκια, και ο developer δεν το ανανέωνε σχεδόν ποτέ.
Μετά βρήκα το Professional Firmware του mriscoc: https://github.com/mriscoc/Ender3V2S1 το οποίο είναι σίγουρα ότι καλύτερο υπάρχει για τον συγκεκριμένο εκτυπωτή, αν και δεν υπάρχουν πολλά βιντεάκια που να το εξηγούν.
Για να βάλεις ένα άλλο firmware στον εκτυπωτή, είναι σχετικά εύκολο, και αναστρέψιμο (αν μπορείς να βρεις το αρχικό .bin αρχείο της Creality). Αρχικά πρέπει να μάθεις ποια είναι η έκδοση της κύριας πλακέτας σου. Είτε 4.2.2 είτε 4.2.7. Εγώ έχω την 4.2.2. Για να δεις πως το βλέπουμε δες κάποια βιντεάκια. Αφού το δεις αυτό, κατεβάζεις το αντίστοιχο .bin αρχείο από το github ή οπουδήποτε αλλού το έχουν. Το βάζεις στην SD, βάζεις την SD στον εκτυπωτή και μετά τον ανοίγεις. Θα δεις ότι μετά από λίγο θα περαστεί. Μετά βγάζεις την κάρτα και την βάζεις πάλι στο PC.
Αυτό ήταν για να αναβαθμίσεις το firmware του εκτυπωτή, όμως καλό είναι να αναβαθμίσεις και το firmware της οθόνης, αν και αυτό νομίζω είναι πιο πολύ για κάποια εικονίδια που μπορεί να μην εμφανίζονται. Οπότε κατεβάζεις και το zip: DWIN_SET για τον συγκεκριμένο firmware, τον κάνεις unzip και πετάς τον ΦΑΚΕΛΟ (που περιέχει τα αρχεία) μέσα στην SD (διαγράφεις το προηγούμενο .bin από την SD). Μετά αποσυνδέεις το καλώδιο της οθόνης, βγάζεις στην οθόνη και αφαιρείς τις βίδες από πίσω της και βγάζεις το πίσω καπάκι της (θέλει δύναμη). Τοποθετείς την SD κάρτα μέσα στην οθόνη (έχει μια υποδοχή για SD), συνδέεις την οθόνη με το καλώδιο και ανοίγεις τον εκτυπωτή. Περιμένεις μέχρι η οθόνη να γίνει προτοκαλί, περιμένεις και κανένα λεπτό παραπάνω, και κλείνεις τον εκτυπωτή. Βγάλε την κάρτα απ την οθόνη και διέγραψε τα αρχεία και είσαι έτοιμος. Βίδωσε την οθόνη και βάλτη πάλι στη θέση της.
Για να γυρίσεις πίσω στο default firmware της Creality, θεωρητικά κάνεις ακριβώς το ίδιο, απλά με τα αρχεία της Creality, τα οποία δεν έχω ιδέα από που τα βρίσκεις επειδή δεν πρόκειται να περάσω ξανά το αρχικό firmware.
Επίσης για ότι firmware βάλετε, πρέπει υποχρεωτικά να είναι για τον συγκεκριμένο εκτυπωτή σας. Δηλαδή για Ender 3 V2. Και με την έκδοσή σας, 4.2.2 ή 4.2.7, εξαρτάται τι πλακέτα έχετε.
Η συμβουλή μου είναι να δουλέψετε πρώτα με το αρχικό firmware, και στη πορεία βάλτε άλλο αν σας αρέσει.
Περί αναβαθμίσεων:
Αρχικά εγώ δεν είχα κάνει καμία αναβάθμιση, όμως μετά χρειάστηκα.
Είναι πάρα πολύ συχνό φαινόμενο να σου σπάσει η πλαστική λαβή από το extruder μετά από λίγο.
Εγώ έβαλα τον Bowden "Extruder Feed Kit MK8 Red - 1.75mm Aluminum" μαζί με το "Capricorn XS Series PTFE Bowden Tubing for 1.75mm Filament".
Προσοχή, όταν αλλάζετε extruder ή bowden tube, πρέπει να κάνετε e-step calibration και flow rate calibration. Θέλει ψάξιμο στο youtube αλλά δεν είναι τόσο δύσκολο, απλά λίγο μέτρημα και κάτι υπολογισμούς.
Πρόσφατα αναβάμισα το κρεβάτι και έβαλα μαγνητικό, συγκεκριμένα ένα generic "Textured Coated Flexible Steel Plate", + τη μαγνητική επιφάνεια που κολλάς στον εκτυπωτή (πρέπει να αφαιρέσεις το γυαλί κατά τη γνώμη μου). Τα πήρα και τα δύο με 26 ευρώ από ένα γνωστό κατάστημα στην Αθήνα.
Δεν έχει σημασία τόσο για μένα που είναι μαγνητικό. Στην ουσία το διαφημίζουν ότι μπορείς εύκολα να το αφαιρέσεις και να το λυγίσεις για να ξεκολλήσει η εκτήπωση. Όμως όταν το κάνεις αυτό, θέλει δύναμη και σου χαλάει το bed leveling. Οπότε εγώ δε το βγάζω, και απλά το έχω για πολύ καλύτερη συγκόλληση του υλικού στο κρεβάτι (εγώ είδα μεγάλη διαφορά από το γυαλί, που συχνά καθάριζα πολύ καλά για να κολλάει).
Επίσης μη χρησιμοποιείτε κόλλες, σπρέι κλπ για να κολλήσει καλά το υλικό στο κρεβάτι. Αν έχεις σωστές ρυθμίσεις και σωστό bed leveling, θα κολλήσει μια χαρά. Ένα τιπ είναι να χαμηλώσετε στο slicer την ταχύτητα για το πρώτο layer της εκτύπωσης. Εγώ το έχω στο 3 στο Cura. Και αξίζει να το κάνει αργά, επειδή είναι το πιο σημαντικό layer.
Τέλος, αναβάθμισα τα ελατήρια κάτω από το κρεβάτι, μαζί με τις ροδέλες που κουνάς για το bed leveling. Είναι σίγουρα η πρώτη αναβάθμιση που θα πρέπει να κάνει κανείς. Αυτά πήρα: https://www.skroutz.gr/s/22529679/%CE%A0%CE%B1%CE%BE%CE%B9%CE%BC%CE%AC%CE%B4%CE%B9%CE%B1-Leveling-%CE%B3%CE%B9%CE%B1-Ender-3-%CE%9A%CE%B9%CF%84-HS1855.html
Περί Slicer:
Εγώ χρησιμοποιώ το Cura. Το slicer μετατρέπει 3D αρχεία τύπου .stl, obj κ.α. σε .gcode για να μπορεί να τα διαβάζει ο εκτυπωτής. Είναι οδηγίες για το που ο εκτυπωτής θα μετακινήσει τον extruder, πόσο υλικό θα βγάλει κλπ. Ενώ τα 3D αρχεία δε μπορεί φυσικά να τα καταλάβει από μόνος του.
Οπότε χρειάζεται το Cura ή ένα άλλο πρόγραμμα σαν κ αυτό, και χρειάζεται και αρκετό πειραματισμό και διάβασμα.
Περί μοντέλων:
Τα 3D μοντέλα που θα δώσετε στο slicer, μπορείτε είτε να τα δημιουργήσετε εσείς με CAD προγράμματα ή με Blender, 3Ds Max κλπ, είτε να κατεβάσετε έτοιμα από Thingiverse, Thangs κλπ.
Αρνητικά του εκτυπωτή:
Δεν έχει bltouch από μόνος του. Εγώ προσωπικά δεν έχω βάλει επειδή μου φαίνεται λίγο περίπλοκο, όμως αν το είχε από μόνος του δε θα με χαλούσε.
Χρειάζεται να αναβαθμίσεις τον extruder σε μεταλλικό μετά από λίγο, επειδή λογικά ο πλαστικός θα σου σπάσει στη πορεία.
Χρειάζονται αναβάμιση τα ελατήρια όπως είπα παραπάνω. Έτσι θα είναι πιο σταθερό το κρεβάτι και δε θα χαλάει το bed leveling τόσο εύκολα.
Update 05/23: Έχω βάλει BL touch εδώ και 5 μήνες και μου έλυσε τα χέρια...
Update 09/23: Μόλις παρέλαβα τον Ender 3 V3 SE (από το ευρωπαικό site της creality) και είναι καλύτερος και στα ίδια χρήματα. Είναι περίπου 4 φορές πιο γρήγορος, αλλά και έχει καλύτερη ποιότητα εκτυπώσεων, ακόμα και σε αυτές τις ταχύτητες... Και ο V2 καλός είναι, θα τον κρατήσω εννοείται, απλά ο V3 SE είναι πιο εύκολος.